Growing amaryllis from seed takes patience, but here is the honest answer: expect germination in roughly 2 to 6 weeks from sowing, transplantable seedlings about 6 to 8 weeks after that, and your first flowers somewhere between 3 and 4 years from sowing day. That multi-year wait is the number that surprises most people, and it is the biggest difference between seed-grown plants and the bulbs you buy at the garden center. Bulbs bloom the same season you plant them. Seeds do not. But if you are up for the long game, growing amaryllis (Hippeastrum) from seed is genuinely rewarding, and once you understand the timeline, the process is a lot less mysterious than it looks.
How Long to Grow Amaryllis From Seed: Timelines
Marcus Henley
19 Apr 2026
Seed vs. bulb: a quick note before we dig in
A lot of amaryllis guides are written with bulb growing in mind, so it is worth being clear about what is different here. Bulb-grown amaryllis follows a completely different clock: you plant a mature bulb and get a flower stalk within weeks. Seed-grown plants have to build a bulb from scratch first, which is why the flowering timeline is measured in years rather than weeks. If you found this article because you are trying to figure out how long amaryllis seeds take to sprout, or whether your tray of seeds is actually going to do anything, you are in the right place. Everything below is specifically about the seed-to-flower journey.
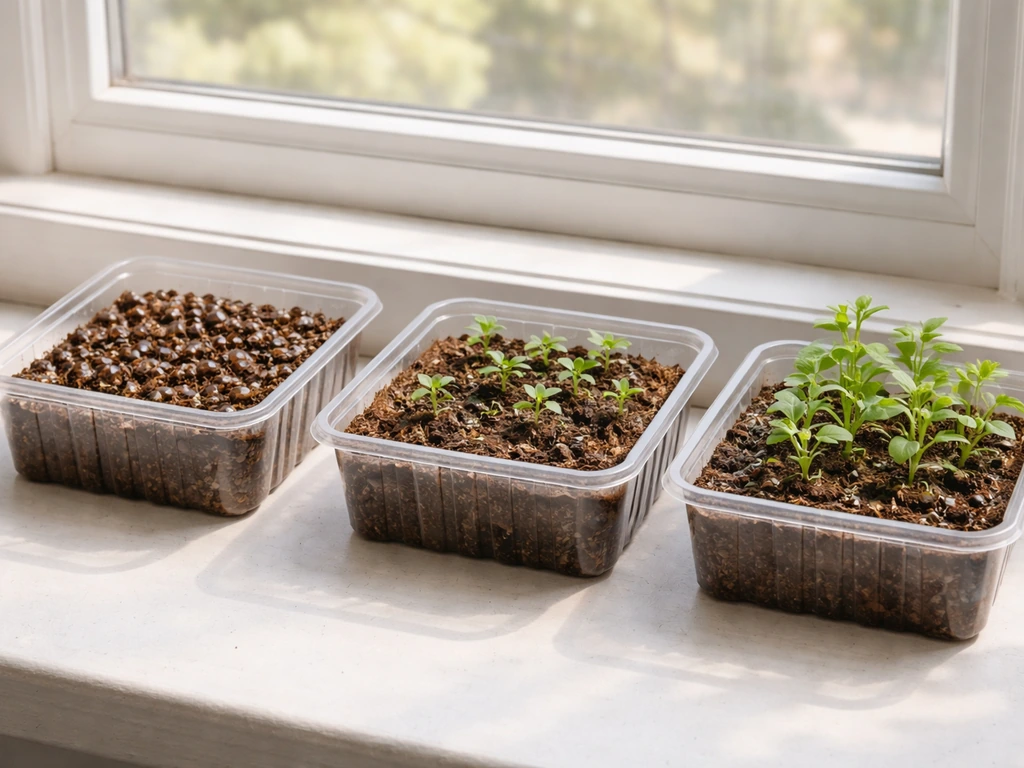
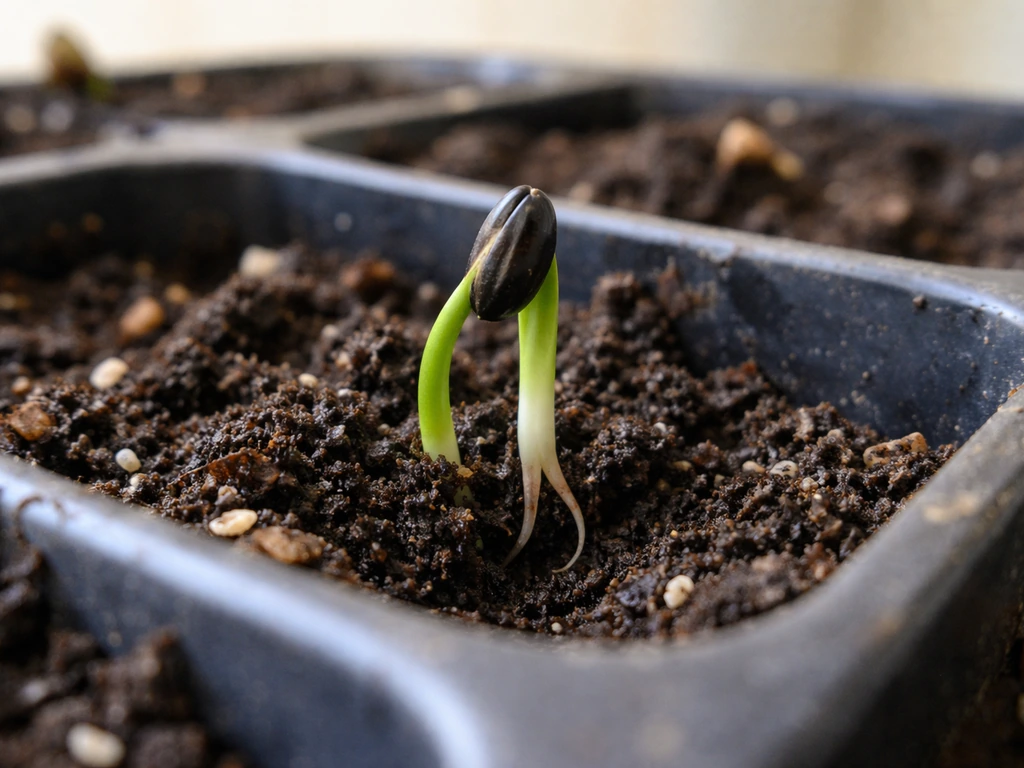
Germination: what to expect in the first few weeks
Under good home conditions, most amaryllis seeds sprout somewhere between 2 and 4 weeks after sowing. The earliest you might see cotyledons pushing up is around day 10, and a practical upper limit before you start questioning the batch is about 6 weeks. The wide range exists because seed freshness, temperature, and moisture consistency all play into it heavily, which is covered in detail a bit further down.
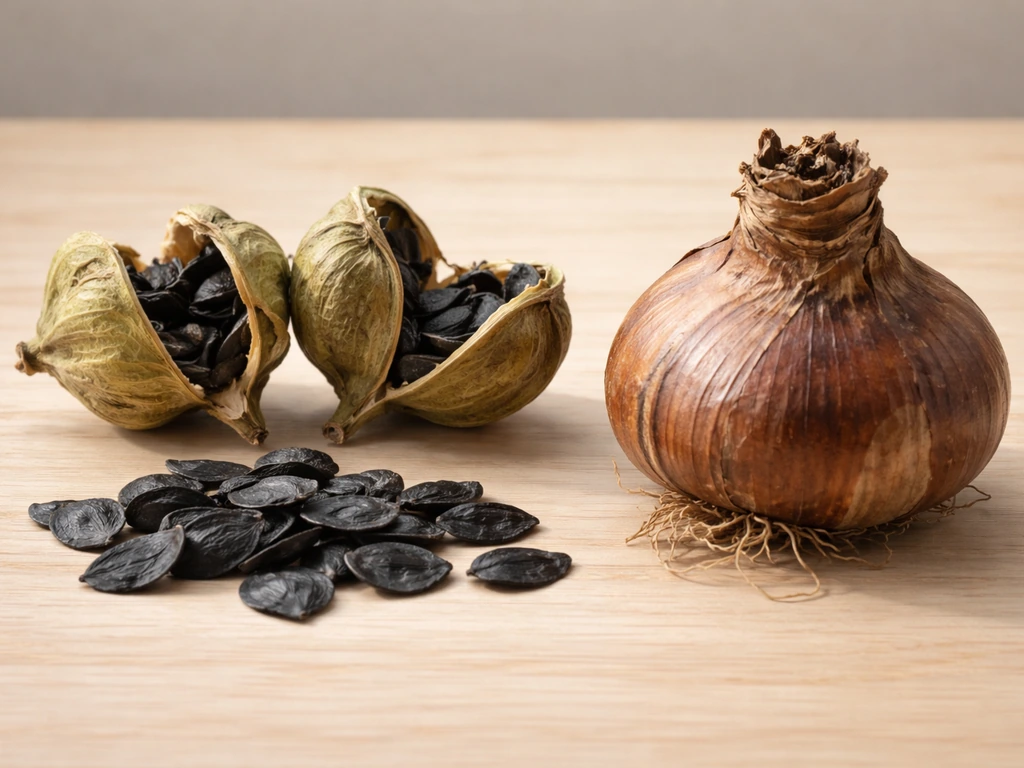
One thing that genuinely helps to know up front: amaryllis seeds are water-rich and do not store dry for long periods reliably. Fresh seed, sown within a few weeks of ripening, germinates much more predictably than seed that has been sitting in a packet for months. If you are working with stored or purchased seed and germination is slow, that is one of the first things to consider.
| Stage | Typical Timeline | Best Case |
|---|---|---|
| First sprout (cotyledon emergence) | 2–4 weeks from sowing | As early as 10 days |
| Most seeds in tray sprouted | 4–6 weeks from sowing | 2–3 weeks |
| Root ready for potting up (root ~1/2 inch) | Shortly after sprouting | 2–3 weeks after sowing |
| Foliage 4–6 inches, transplant-ready | 6–8 weeks after sprouting | 6 weeks after sprouting |
| First flowers | 3–4 years from sowing | 3 years with ideal conditions |
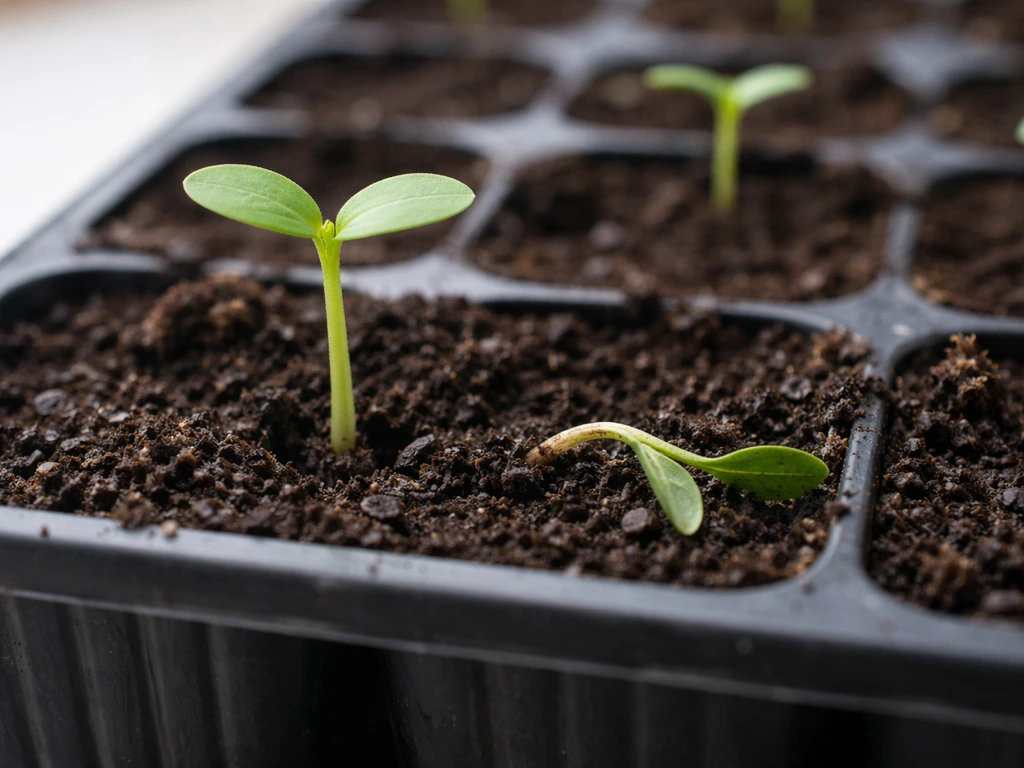
From sprout to transplantable seedling
Once seeds germinate, the seedlings move through two useful checkpoints before you pot them individually. The first is root length: when the root is about half an inch long, the seedling is ready to be moved into a proper growing medium and should not be left sitting in the germination tray too long after that point. The second checkpoint is foliage length: when the leaves reach about 4 to 6 inches long, that is a solid signal to transplant into individual pots at least 6 inches deep, giving the developing bulb room to size up.
In practical terms, experienced Hippeastrum growers typically transplant around 6 to 8 weeks after sprouting, at which point the tiny developing bulb is roughly 1 centimeter wide and seedlings have put out 4 to 6 leaves. Leaving them crowded in a germination tray past this point slows development and invites problems, so do not wait for them to look 'bigger' before moving them.
About 5 to 6 weeks after germination, you can begin feeding with a general-purpose organic pot plant feed. There is no rush before that point as the seedlings are drawing on the resources in their seed and fresh mix, but once they are established and growing, consistent light feeding encourages steady bulb development.
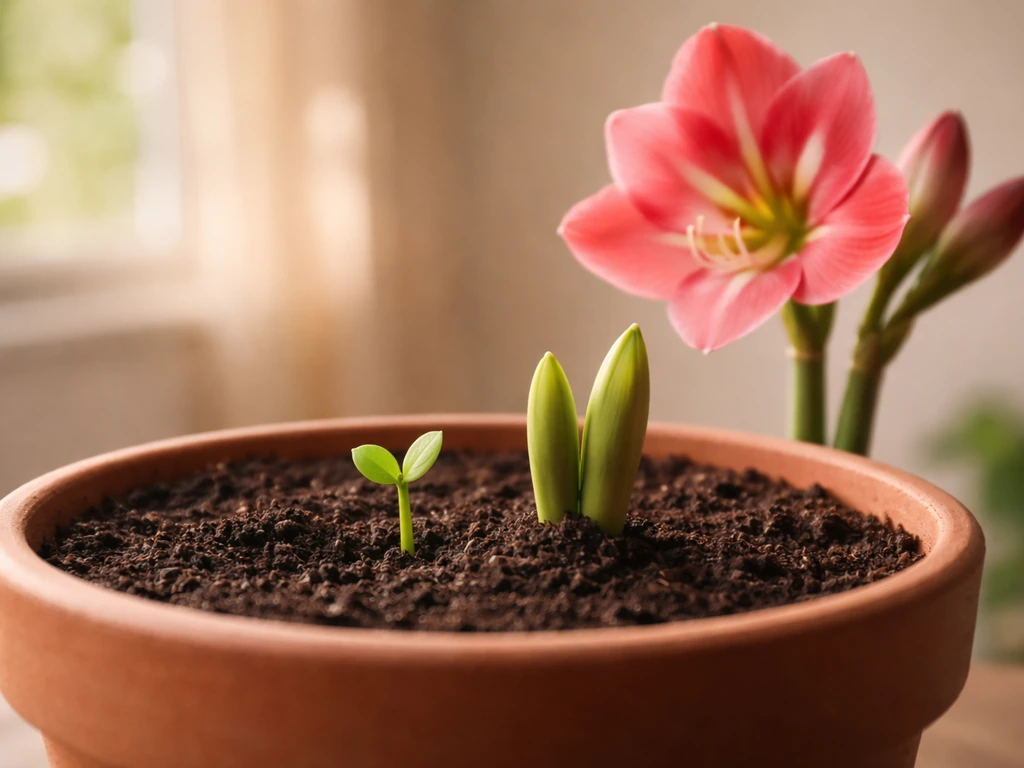
When will seed-grown amaryllis actually flower?
This is the part nobody loves hearing, but it is better to know it now: seed-grown amaryllis typically takes 3 to 4 years to produce its first bloom. That timeline is consistent across home gardeners, breeders, and extension-style guidance. The plant spends those years building a bulb large enough to support a flower stalk, and there is no reliable shortcut. Some growers hit the 3-year mark with good conditions and consistent care. Others wait closer to 4 years, particularly if early seedling growth was slow or interrupted.
For context, other ornamental flowers grown from seed are much faster. Snapdragons, salvias, and gazanias typically bloom within a single growing season from seed. Gazania is similar in that you will need some patience, but the time from sowing to first blooms is typically much shorter than amaryllis how long does it take to grow gazania from seed. If you are wondering how long snapdragons take to grow from seed, they also finish much faster than amaryllis, typically blooming within the season you sow. Amaryllis is in a different category entirely, closer to roses or desert rose in terms of the long-term commitment involved. The payoff is a plant you grew entirely yourself, often with characteristics you will not find in any bulb catalog.
The factors that push the timeline faster or slower
Temperature
Warmth is the single biggest lever you have during germination. Aim for 70 to 85°F (21 to 29°C) consistently. Below 70°F germination slows down noticeably and becomes unpredictable. If your home runs cool, a seedling heat mat under the tray makes a genuine difference and is worth using if you want to hit the faster end of the germination range.
Seed freshness
Amaryllis seeds lose viability quickly because of their high water content. They are designed to germinate almost immediately after ripening, not to sit in storage for months. If you are collecting your own seed, sow it within a few weeks of harvest. If you are buying seed, buy from a reputable source that ships fresh stock. Dry, old, or improperly stored seed is a leading cause of poor or zero germination, and no amount of perfect temperature or moisture management will fix a non-viable seed.
Light
During germination, lightly shaded conditions work well. Once seeds sprout, move them into bright light immediately. Melinda Myers specifically recommends getting them into a sunny location or under artificial grow lights as soon as they emerge. Seedlings that spend their early days in low light become leggy and weak, which sets back the whole timeline. After transplanting, bright indirect light or a few hours of direct sun daily is what keeps young bulbs developing at a healthy pace.
Moisture and potting mix
Getting moisture right is a balance. The germination medium needs to stay consistently moist, not waterlogged. Too dry stalls germination; too wet creates the warm, wet conditions that damping-off pathogens love. Use a sharply drained germination mix, such as equal parts coarse river sand and finely milled compost or bark. Never use garden soil or reused potting mix in a seed tray since both carry pathogen risk that dramatically increases damping-off odds. Fresh, sterile seed-starting mix is non-negotiable here.
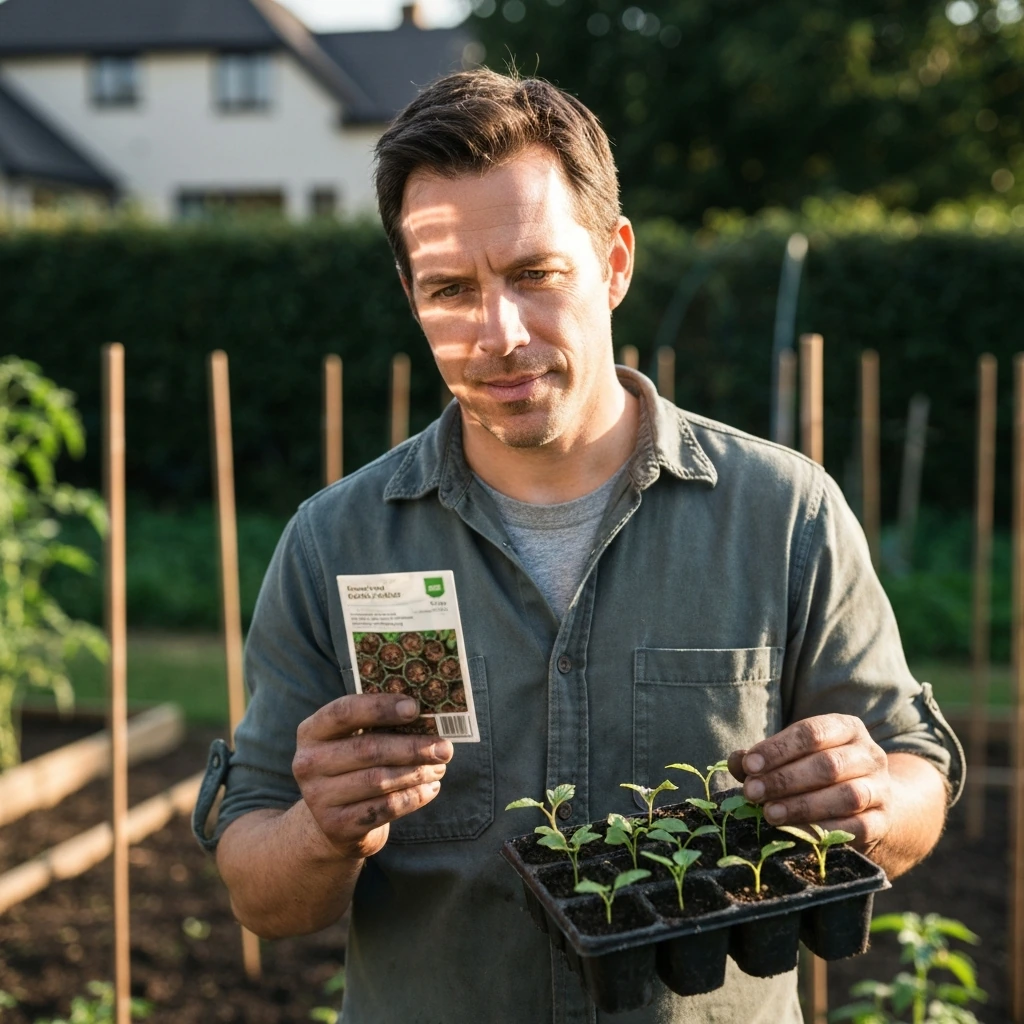
Step-by-step setup for the fastest realistic timeline
- Start with fresh seed. Sow within a few weeks of harvest if collecting your own, or buy from a source known for fresh stock. This is the most important variable you control before anything else.
- Fill a clean seed tray with a fresh, sterile, well-draining mix: equal parts coarse sand and fine compost or bark works well. Do not reuse last season's mix.
- Sow seeds about 15 mm apart and cover with approximately 1/8 inch (3 mm) of mix. Do not surface-sow, as the radicle can fail to penetrate the soil properly and germination rates drop.
- Water gently and cover the tray with a humidity dome or clear plastic to retain moisture. Place on a heat mat set to 75–80°F for best results.
- Keep the tray in lightly shaded conditions during germination. Check moisture daily and mist if the surface starts to dry out, but do not let water pool.
- Watch for the first cotyledons around day 10. Move the tray into bright light immediately once any seedlings emerge.
- Once roots are about half an inch long (typically a few weeks after sprouting), carefully pot seedlings individually into containers at least 6 inches deep filled with fresh mix.
- When foliage reaches 4 to 6 inches long (roughly 6 to 8 weeks after sprouting), ensure each seedling is in its own pot with room to develop its bulb.
- Begin feeding about 5 to 6 weeks after germination with a general-purpose organic liquid feed. Continue consistent watering and bright light through the growing season.
- Grow on for 3 to 4 years, repotting as bulbs develop, before expecting a first flower stalk.
When germination is slow or not happening at all
If nothing has sprouted by the 6-week mark, you have reached the practical decision point. Six weeks under correct temperature and moisture conditions is enough time for viable seed to germinate. Waiting indefinitely past that point without reassessing is rarely productive. Before you restart, run through the most common failure causes:
- Old or dried-out seed: This is the most common culprit. If the seed was stored dry for months, viability may already be gone before you sowed it. Fresh seed is essential.
- Temperature too low: If your sowing space runs below 70°F, germination slows dramatically. Add a heat mat and verify the surface temperature of the mix.
- Surface sowing: Seeds placed on top of the mix without being pressed in at all often fail because the radicle cannot make good contact with moist medium. Bury seeds at about 1/8 inch.
- Too wet or contaminated mix: Waterlogged trays breed damping-off fungi fast. If seedlings that did emerge are collapsing at the base, damping-off is likely the cause. Start over with fresh sterile mix and better drainage.
- Too dry: If the mix dried out between checks, seeds may have started germinating and then stalled. Consistent moisture throughout the germination period is critical.
If you hit 6 weeks with zero germination, it is usually better to restart with fresh seed than to keep waiting. The good news is that a failed batch tells you exactly what to adjust. Most people who get a poor first result find the second attempt goes much better once temperature and seed freshness are dialed in.
Dealing with damping-off after seedlings emerge
Damping-off looks like seedlings that were growing fine and then suddenly fall over with a pinched, rotted stem at the soil line. It is caused by fungal pathogens that thrive in warm, wet, poorly ventilated conditions. The fastest way to reduce the risk is to use only fresh sterile mix, improve airflow around the tray (removing the cover for part of each day once most seeds have sprouted), and water from below rather than overhead when possible. If damping-off hits, remove affected seedlings immediately and improve airflow for the survivors. Do not try to save the infected mix.
The honest reality of the wait
Three to four years is a long time to grow a plant, and it is fair to go in with clear eyes about that commitment. If you are also wondering about desert rose, the question of how long to grow desert rose from seed is similarly about patience and early growth before flowering. What makes it worthwhile is that seed-grown amaryllis plants often produce flowers in colors and patterns that are genuinely unique, especially if you are crossing varieties yourself. Every year the bulb grows a little larger, and when it finally blooms, it feels like a real event. If you are the kind of grower who enjoys watching something develop slowly and rewarding your patience with something you cannot buy, amaryllis from seed is a satisfying project. Just do not sow it in the spring expecting flowers by fall. If you are wondering how long it takes to grow roses from seeds, the timeline is also measured in seasons and involves patient early growth before you see blooms how long does it take to grow roses from seeds.
FAQ
If I bought amaryllis seed, how long should I wait before deciding it failed?
Use the 6-week mark as your decision point. If none sprout by then (assuming you kept temperature and moisture in a reasonable range), it is usually better to restart with fresh seed rather than extend the wait indefinitely.
What is the fastest way to reach the flowering timeline from seed?
You cannot force the 3 to 4 year timeline reliably, but you can avoid delays. The biggest practical levers are steady warmth during germination, bright light immediately after sprouts, and transplanting at the root, then leaf, checkpoints so the bulb starts sizing up on time.
Should I expect the seedlings to bloom in the same year they sprout?
No. Even with good early growth, seed-grown amaryllis typically does not bloom until roughly 3 to 4 years after sowing. A quicker “first flower” in 1 year would be an unusual exception, not a normal outcome.
Can I speed things up by fertilizing earlier than the 5 to 6 week feeding window?
Usually, no. Early feeding before seedlings are established can stress tender growth. Follow the common guideline of starting feed about 5 to 6 weeks after germination, once you see steady leaf development.
How deep should individual pots be for transplanted seedlings?
Aim for pots at least 6 inches deep after transplanting. That depth supports the developing bulb, and it reduces the chance you will need to repot later because the bulb outgrows the container too quickly.
What should I do if my seedlings sprout but look leggy?
Legginess almost always points to insufficient light during the first days after emergence. Move them into a sunny spot or under grow lights right away, and keep light strong but consistent to prevent additional setback.
Is damping-off the only reason seedlings might die after sprouting?
No, but it is a major one. Damping-off causes collapse at the soil line, while underwatering often shows slowed growth and dry medium. Check moisture consistency and airflow, then remove any collapsed seedlings promptly.
Can I reuse potting mix or garden soil in a seed tray to save money?
It is strongly not recommended. Reused mix and garden soil carry pathogen risk that increases damping-off odds. Use fresh, sterile seed-starting mix and a well-draining germination medium for the best chance at healthy seedlings.
If my germination is slow, should I increase watering or add fertilizer?
Slow sprouting is more often temperature related and moisture imbalance, not a lack of fertilizer. Keep the medium consistently moist, not waterlogged, and prioritize stable warmth around the target range before adding extra nutrients.
How do I know when a seedling is ready to transplant from the germination tray?
Use the two checkpoints: transplant when roots reach about half an inch, and then again transplant into individual pots when leaves reach roughly 4 to 6 inches. Waiting for “bigger” plants instead of the right size typically leads to crowding and slower progress.
Does seed-grown amaryllis look like the parent variety every time?
Not necessarily. Seed introduces genetic variation, which is why colors and patterns can differ from what you expect. If you want specific traits, crossing varieties yourself is one way to pursue predictable outcomes, but even then variation remains part of the game.
What should I do if I have zero germination but the seeds were fresh?
Reassess two root causes first: temperature stability and seed-starting conditions. Even fresh seed can fail if the tray runs too cool, stays too wet, or uses non-sterile mix. If you cannot fix those quickly, restarting with another batch of seed is often the most productive move.
Next Article
How Long Do Snapdragons Take to Grow From Seed
Snapdragons from seed: germination, transplant timing, and first blooms with ranges for indoor vs direct sow plus troubl