Clover germinates in about 7 to 15 days under good conditions, and you'll have a visible stand worth talking about within 4 to 6 weeks of sowing. Full, functional coverage for ground cover or lawn use takes roughly 2 to 3 months, while forage clover needs 60 to 90 days before a first cutting makes sense. Those numbers shift quite a bit depending on soil temperature, moisture, and seed variety, so let's walk through what actually drives the timeline and what you can realistically expect.
How Fast Does Clover Grow From Seed? Timelines and Tips
Marcus Henley
3 Apr 2026
Typical clover growth timeline from seed
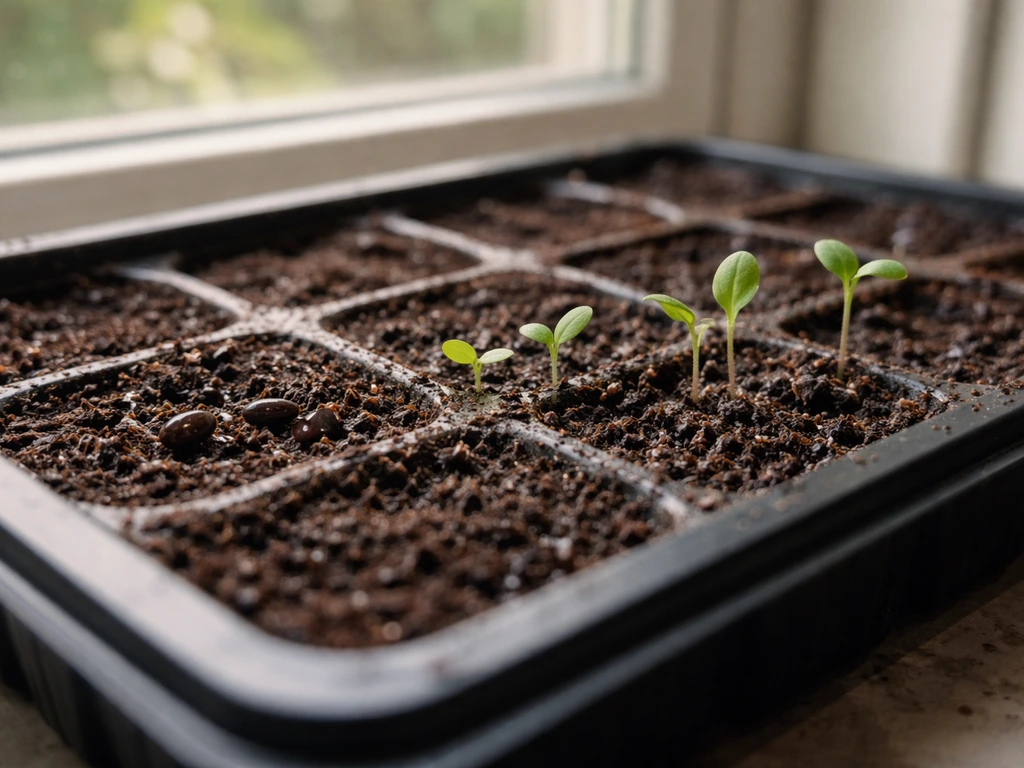
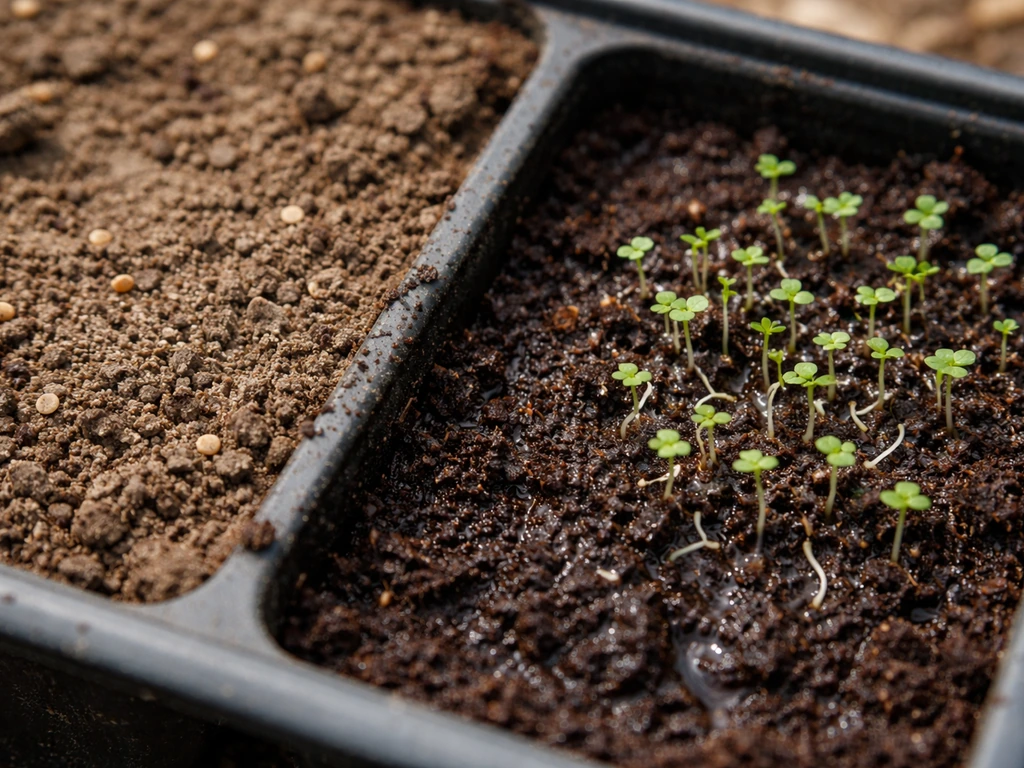
The fastest part of the whole process is those first few days after a rain or a good watering: clover seeds absorb moisture and begin to swell. White clover is epigeal, meaning germination happens right at or near the soil surface, so you'll often see tiny curved shoots poking up before you expect them. Under warm, moist conditions (soil temperatures around 50 to 65°F), most varieties break ground in 7 to 10 days. Cooler soils push that to 10 to 15 days, and in cold late-season plantings you might be waiting 3 weeks or more.
| Growth Stage | White Clover | Red Clover | Crimson Clover |
|---|---|---|---|
| Germination (first shoots) | 7–10 days | 7–14 days | 7–15 days |
| Visible seedling stand | 3–4 weeks | 3–5 weeks | 3–5 weeks |
| Ground cover / lawn ready | 6–10 weeks | 8–12 weeks | 8–10 weeks |
| Forage first cut | Not primary use | 60–70 days post-establishment | 60–90 days post-establishment |
| Full/dense maturity | 10–14 weeks | 12–16 weeks | 10–14 weeks |
Lab germination tests give you a useful baseline: Oregon State University's seed lab uses a 7-day final count for both white and red clover germination testing. That tells you what happens under perfect conditions. In the real world, outside with variable soil temps and moisture, budget at least 10 to 14 days before you start worrying. First-year stands of red clover in particular are slower to thicken up because the plant puts a lot of early energy into root development before it pushes top growth hard.
Factors that change how fast clover grows
Soil temperature matters most
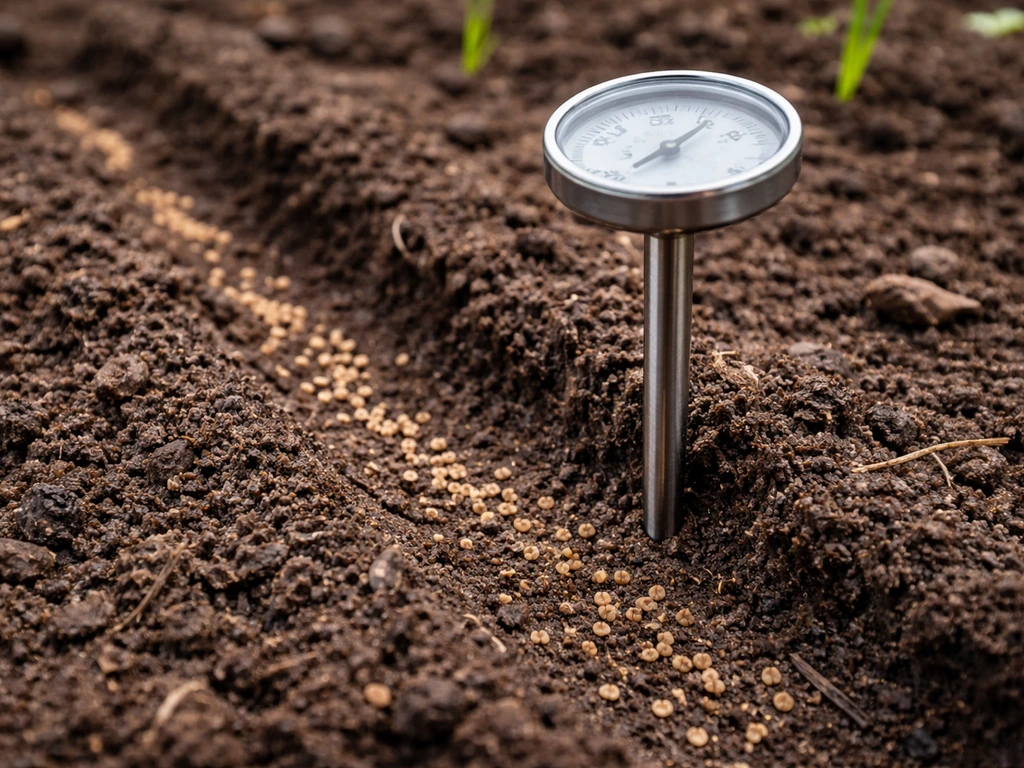
Temperature is the single biggest lever. Crimson clover has a minimum germination soil temperature of around 42°F, and while it can technically sprout at that threshold, it will be sluggish. Red clover is similar. Get soil temps up to 50°F and things move noticeably faster; at 60 to 70°F, you're looking at the fastest possible germination windows. One thing worth knowing: it's not just the average temperature that matters, but the stability. Wide soil temperature fluctuations can inhibit germination and injure seedlings, which is why mid-spring planting (when nights are still cold but warming fast) sometimes produces patchier results than late-spring or late-summer planting when temperatures are more consistent.
Moisture is the trigger
Clover needs consistent moisture to germinate and establish. In fact, crimson clover is well known for germinating with the first meaningful rain after seed maturation. That's not a coincidence: moisture is essentially the on-switch. If the soil surface dries out between watering events during those first 10 days, germination stalls or seeds die before they break ground. This is one of the most common reasons people see patchy or failed stands, and it's fixable with a little attention to watering rhythm early on.
Seed-to-soil contact and seeding depth
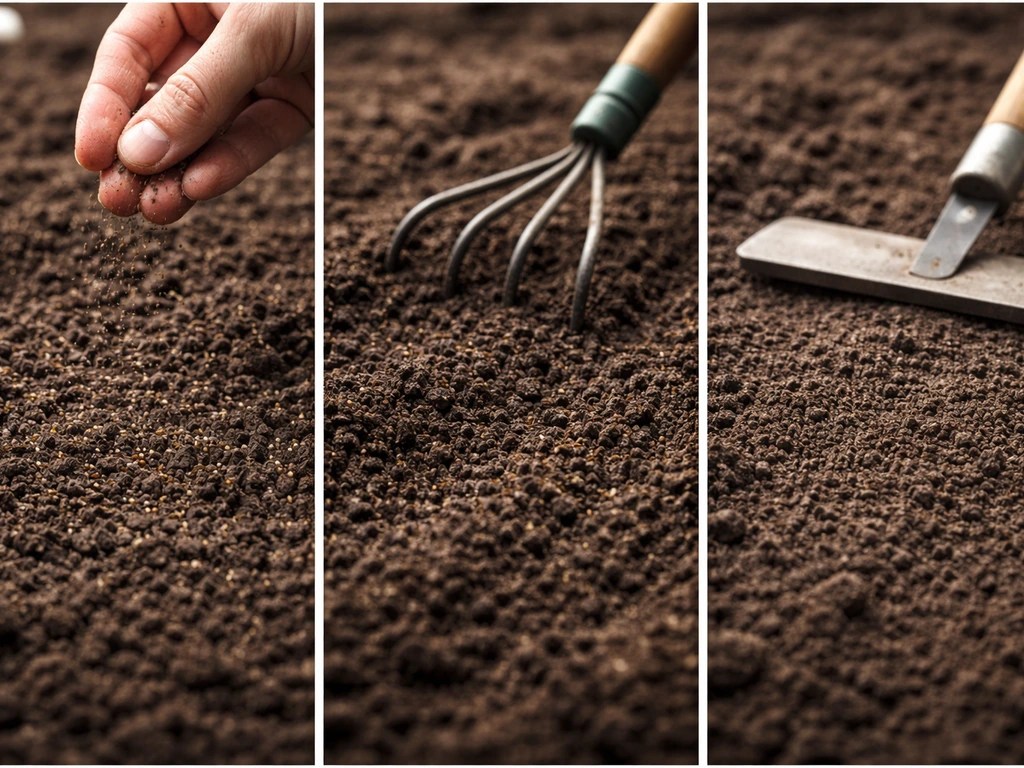
Clover seeds are tiny, and they need firm contact with the soil to absorb moisture and anchor themselves. Broadcasting seed onto fluffy, uncompacted soil often results in seeds sitting on top of air pockets rather than touching actual soil particles. This is why the UC Davis recommendation for white clover involves broadcasting seed and then rolling or covering with a cultipacker to firm the seedbed. Research on red clover frost-seeding found that rounder seed shapes actually achieve better soil contact than flatter seed shapes, which is a useful reminder that physical seed-to-soil interface really does drive outcomes. Seed should generally be planted no deeper than 1/4 inch; deeper than that and small-seeded clovers struggle to push through.
Light
Clover seedlings need light once they've emerged. This sounds obvious, but it becomes a real problem when people mulch over a newly seeded area. Thicker mulch can completely block light to emerging seedlings, killing them before they have a chance to establish. A very light straw cover (you should still see soil through it) is fine for moisture retention, but anything denser risks snuffing out your stand before it starts.
How to improve germination speed and early growth
- Prepare a firm, weed-free seedbed: Loosen the top inch or two, remove debris, then firm the surface with a roller or the back of a rake. Clover doesn't need deep tillage, but it does need a smooth, firm top layer.
- Inoculate your seed: This applies especially to red clover. Use a species-appropriate rhizobium inoculant, mix it with the seed just before sowing, and plant the same day. Proper inoculation improves early vigor and long-term nitrogen fixation, giving seedlings a meaningful head start.
- Sow at the right depth: Aim for 1/8 to 1/4 inch. Broadcast sowing followed by a light raking or rolling is the most practical method for most home growers.
- Water gently and consistently: After sowing, water lightly every day or two to keep the top half-inch of soil moist until germination. A misting setting or gentle sprinkler works better than a heavy flow that can dislodge seeds.
- Avoid heavy mulch: A thin scatter of straw is fine. Anything thicker risks blocking the light that seedlings need the moment they emerge.
- Check soil pH first: Clover prefers a pH between 6.0 and 7.0. Crimson clover has decent tolerance from strongly acid to moderately alkaline soils, but red and white clovers perform best near neutral. A cheap soil test can save you weeks of troubleshooting later.
When clover is actually 'ready' for what you're growing it for
"Ready" means something different depending on why you planted clover in the first place. Here's how to think about it for the three most common use cases.
Ground cover and weed suppression
White clover used as a ground cover starts suppressing weeds noticeably around 6 to 8 weeks after sowing, once the canopy begins to close. You won't have a fully dense mat until 10 to 14 weeks in, but by week 8 most clover patches are thick enough to shade out annual weeds. If you've got a large bare patch, expect a few weeds to fill in the slower spots while the clover catches up, which is totally normal.
Lawn use
For a clover lawn or clover-grass mix, you want to keep foot traffic light for the first 6 to 8 weeks. By 8 to 10 weeks, a spring-sown stand should handle moderate use reasonably well. Full durability and density come closer to the 3-month mark. If you're thinking about how fast different flower seeds grow compared to clover, clover is actually faster than most flowering groundcovers to reach usable coverage, which makes it a practical choice for impatient gardeners.
Forage and cover crop use
Red clover for forage reaches prime first-cut quality around first bloom, which typically happens about 60 to 70 days after establishment. Subsequent cuttings can follow every 30 to 35 days from there. In the establishment year, avoid cutting or grazing too early: pulling top growth before roots are well anchored weakens the stand significantly. Crimson clover for cover crop use reaches meaningful biomass and nitrogen-fixing potential at 8 to 12 weeks, but it really hits its peak right around flowering, so if you're planting it as a green manure, let it bloom before you till it in.
Troubleshooting slow or failed clover germination
If you're two weeks past sowing and seeing almost nothing, here's where to look first.
- Soil is drying out between waterings: This is the most common culprit. Clover seeds are tiny and have almost no moisture reserve. If the top layer of soil dries even briefly during the critical first week, germination stops. Water more frequently, even if it feels like overkill.
- Soil temperature is too cold: Below 42°F for crimson clover, germination basically doesn't happen. Below 50°F, it's very slow for all types. Use a soil thermometer if you're unsure, and consider waiting another week or two if temps are borderline.
- Poor seed-to-soil contact: Did you broadcast on uncompacted soil without rolling or raking? Seeds sitting on top of fluff won't germinate well. Try pressing seeds into the surface with a board or roller.
- Seed was buried too deep: Anything more than 1/4 inch is often too deep for small clover seeds. They run out of energy before they break the surface.
- Low seed viability: Old seed stored in warm, humid conditions loses viability fast. If your seed is more than a year old or was stored poorly, germination rates drop sharply. Always buy fresh seed from a reputable source and check the test date on the bag.
- Soil pH is way off: Very acidic soils (below 5.5) or very compacted, waterlogged soils inhibit clover establishment regardless of other conditions. A quick soil test rules this out.
- Wrong timing for your region: Planting into soil that's too warm (above 85°F) or too cold can result in almost no germination. Crimson clover needs to establish before the first hard freeze in fall plantings.
Red clover is known for high seedling vigor when conditions are right, and most clover varieties will germinate in most years when timing, moisture, and soil contact are dialed in. If you've got all three and still see nothing after 3 weeks, suspect seed viability before you assume something else is wrong.
Spring vs. fall sowing: planning around the seasons
Clover is flexible, but spring and fall sowings behave quite differently, and knowing what to expect from each saves a lot of frustration.
Spring sowing
Spring is the most popular time to seed clover, and for good reason: rising soil temperatures and reliable moisture create ideal germination conditions. Aim to sow once soil temps are consistently above 50°F, typically late March through May depending on your region. A spring-sown stand germinates in 7 to 14 days and reaches functional density by midsummer. The main challenge with spring sowing is competition from weeds, which are also waking up fast. Getting good soil contact and keeping seedlings well-watered gives clover the speed edge it needs to beat out the weeds early.
Frost-seeding is a related spring technique worth knowing about: you broadcast clover seed on frozen ground in late winter, and freeze-thaw cycles work the seed into the soil naturally. It's commonly used for overseeding existing pastures with red clover and can work well when natural soil movement provides the contact that rolling would otherwise create.
Fall sowing
Fall sowing works well for winter-hardy varieties like red clover and crimson clover, but timing is tighter. Crimson clover especially needs enough time for seedlings to establish before the first hard freeze. Regional forage planting guides, like those from North Carolina State University, emphasize specific fall planting windows based on average first-frost dates: generally, you want 6 to 8 weeks of frost-free growing time after germination. In most of the southeastern US, that means sowing in September. Further north, late August is safer. A fall-seeded stand that survives winter will take off fast in spring and often outperform a same-year spring planting by early summer.
If you're used to thinking about planting timelines for other types of plants, it helps to compare notes across different seed types. Just as growing flowers from seed involves a range of establishment speeds depending on species and season, clover follows its own rhythm that rewards timing over rushing.
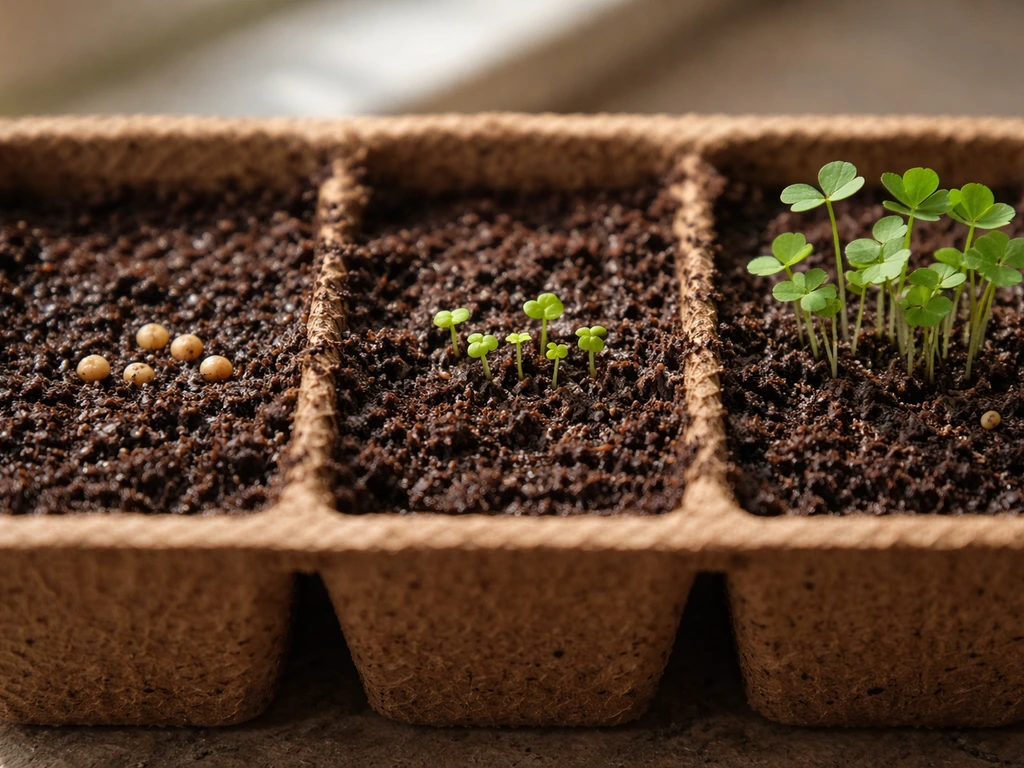
What to expect month by month (spring-sown example)
| Week / Month | What You Should See |
|---|---|
| Week 1–2 | First shoots emerging (white/red clover); soil still mostly bare |
| Week 3–4 | Seedlings 1–2 inches tall; patchy stand becoming visible |
| Week 5–6 | Stand filling in; weed competition reducing; light foot traffic okay |
| Week 7–10 | Dense canopy closing; ground cover use fully functional |
| Week 10–14 | Full maturity; forage first cut possible (red/crimson); lawn use normal |
| Month 4+ | Established stand; reseeding begins; lower maintenance needed |
Clover is genuinely one of the easier seeds to grow successfully when you respect the basics: firm seedbed, consistent moisture, right timing, and patience for those first two weeks. If you've grown other fast-establishing plants before, like morning glories from seed, you'll recognize the same rhythm: a quiet period, then a burst of growth once conditions click into place. With clover, once it's established, it largely takes care of itself, which is exactly why it's worth the effort upfront.
Gardeners who are also planning a mixed planting season sometimes find it useful to look at how other seed types fit into the same schedule. If you're curious about germination timelines beyond clover, it's worth checking out how long flower seeds take to grow as a comparison point, or diving into specific plants like growing mums from seed or starting chrysanthemums from seeds if you're planning a mixed landscape alongside your clover. The timelines are very different, but the planning mindset is the same: know your soil temps, give seeds what they need in the first two weeks, and set realistic expectations about when you'll see results.
FAQ
If I planted clover and nothing shows up, is it too late to fix it?
Not always. Clover germination can be delayed by cold, but it can also look like “nothing happened” if seeds were planted too deep, the seedbed stayed too fluffy (poor soil contact), or the surface dried out during the first 10 days. If you still see zero emergence after about 3 weeks, check seed viability and reassess seeding depth and watering rhythm.
Can I re-sow clover if it germinates poorly the first time?
Yes, but only within the early window. If you’re within the first 10 to 14 days and seedlings are sparse, a targeted reseed can work, but don’t just scatter over dry, loose soil. First firm the area (rolling/cultipacking) and keep the surface consistently moist until you see sprouts.
How much mulch can I put over clover seeds without slowing or stopping germination?
Clover is epigeal, so unlike many seeds it generally needs light to emerge once it starts breaking the soil surface. If you use mulch, keep it very thin (you should still see soil through it) and avoid burying seedlings under thick straw or leaves, because that can stop emergence and kill weak seedlings before they reach light.
What matters more for fast growth, average soil temperature or day-to-day temperature swings?
For speed and evenness, prioritize soil temperature stability over a one-time warm day. If nights are still cold and days are warm, surface temps can swing a lot, which can lead to patchier germination. Planning to seed when soil temps are consistently above your variety’s threshold usually produces the fastest, most uniform stand.
How should I water clover seeds during the first couple of weeks to get faster emergence?
Use short, frequent waterings to keep the top layer from drying out, especially during the first 10 days after sowing. The goal is steady surface moisture, not soaking for long periods. Once seedlings are up and roots are established, you can extend intervals to encourage deeper rooting.
Will clover grow fast enough to beat weeds on its own?
If clover is competing with weeds, faster growth alone may not solve the problem. You need early-season weed control, either by keeping traffic off, improving seedbed contact so clover fills faster, or using an appropriate weed-management approach that does not harm clover seedlings. Otherwise weeds can take the sunlight and slow clover’s canopy closure.
What are common mistakes with seeding depth that slow clover growth?
It can. If seeds are slightly deeper than recommended (beyond about 1/4 inch), the seedlings may struggle to reach light, leading to late or uneven emergence. Confirm seeding depth when you spread seed, then use rolling or a light covering method that firms contact without burying it too far.
Should I assume my seed is bad if emergence is delayed, or wait longer?
Consider reseeding only after you confirm what’s wrong. If you are already beyond the 2 to 3 week window for emergence, test seed viability, verify soil contact, and review moisture consistency. If seeds are viable and conditions were right, it may be a temperature issue that made the stand slower, not a complete failure.
Next Article
How Fast Do Seedlings Grow From Seed to Transplant
Learn how fast seedlings grow from seed to transplant, what affects the timeline, and troubleshooting to fix slow germin