Aloe vera seeds typically germinate in 2 to 4 weeks under good home conditions, though it's completely normal for the first sprouts to show anywhere from 1 to 8 weeks after sowing. Once they germinate, you're looking at another 2 to 4 months of careful seedling care before they're ready to pot up individually, and a full year or more before they look like a proper little aloe plant worth showing off. It's a slow process, but absolutely doable if you get the setup right from day one.
How Long Do Aloe Vera Seeds Take to Grow? Timeline
Marcus Henley
4 May 2026
The full aloe vera seed timeline, start to finish
Here's what to realistically expect at each stage when growing aloe vera from seed indoors under typical home conditions:
| Stage | Typical Timeframe | What You're Looking For |
|---|---|---|
| Germination (first sprout) | 2–4 weeks (can stretch to 8) | Tiny green tip pushing through the surface |
| Seedling establishment | Weeks 4–12 | First true leaves forming, root system developing |
| Ready to pot up individually | 3–5 months after sowing | 2–4 true leaves, visible roots at drainage holes |
| Looks like a recognizable aloe | 6–12 months | Rosette shape, multiple firm leaves |
| Mature plant | 3–5 years | Full size, potentially blooming |
The germination window is where most people get anxious. Seeds can be noticeably slow in the first two to three weeks, and then suddenly several sprouts appear at once around week three or four. Autoflower seeds follow a different grow rhythm, but you can still estimate your timeline based on strain and growing conditions. That's completely normal. Don't give up on a tray that looks empty at week two. Some aloe species, like Aloe ferox, can take up to 180 days to germinate even under ideal conditions, though Aloe vera barbadensis is generally quicker and more predictable.
What changes the timeline most
Temperature is the single biggest lever you have. Aloe vera seeds germinate most reliably at 22–24°C (about 70–75°F). Daytime temperatures around 22–23°C with nights around 20–21°C hit the sweet spot. Go much below 18°C and germination slows dramatically or stalls entirely. Push much above 30–35°C and germination rates drop off for many aloe species. A heated propagator set to around 23°C is genuinely the most consistent way to hit that window at home.
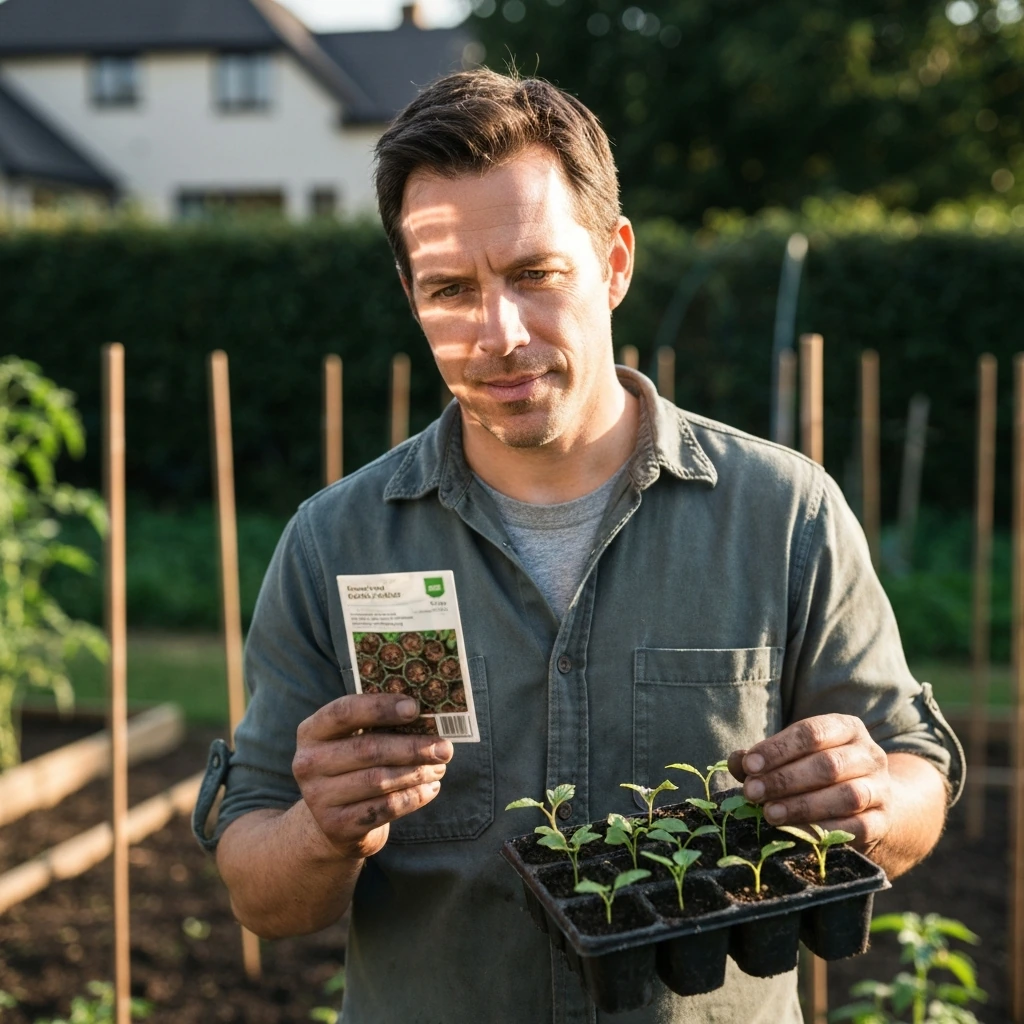
Seed freshness matters more than most people expect. Aloe seeds lose viability quickly compared to many other plants. Seeds stored for just three months under ambient conditions can have germination rates as low as 28%, while fresh seeds from a reliable source can germinate at rates above 80%. If you've had a packet sitting in a drawer for a year, lower your expectations and sow more thickly to compensate.
- Seed age and freshness: Fresh seeds germinate faster and at higher rates. Use seeds within 6 months of harvest if possible.
- Temperature: 22–24°C is the reliable sweet spot. Below 18°C causes significant slowdown or failure.
- Light: Aloe seeds actually need light to germinate, unlike some other succulents and cacti. Don't bury them or put them somewhere dim.
- Moisture: Consistent but light moisture works best. Waterlogged media causes rot before seeds can sprout.
- Growing media: A gritty, free-draining mix prevents rot and supports root development. Dense, moisture-retaining mixes cause failures.
- Ventilation: Covered trays build humidity and help germination, but without airflow, mold takes hold fast.
How to plant aloe vera seeds for the fastest, most reliable germination
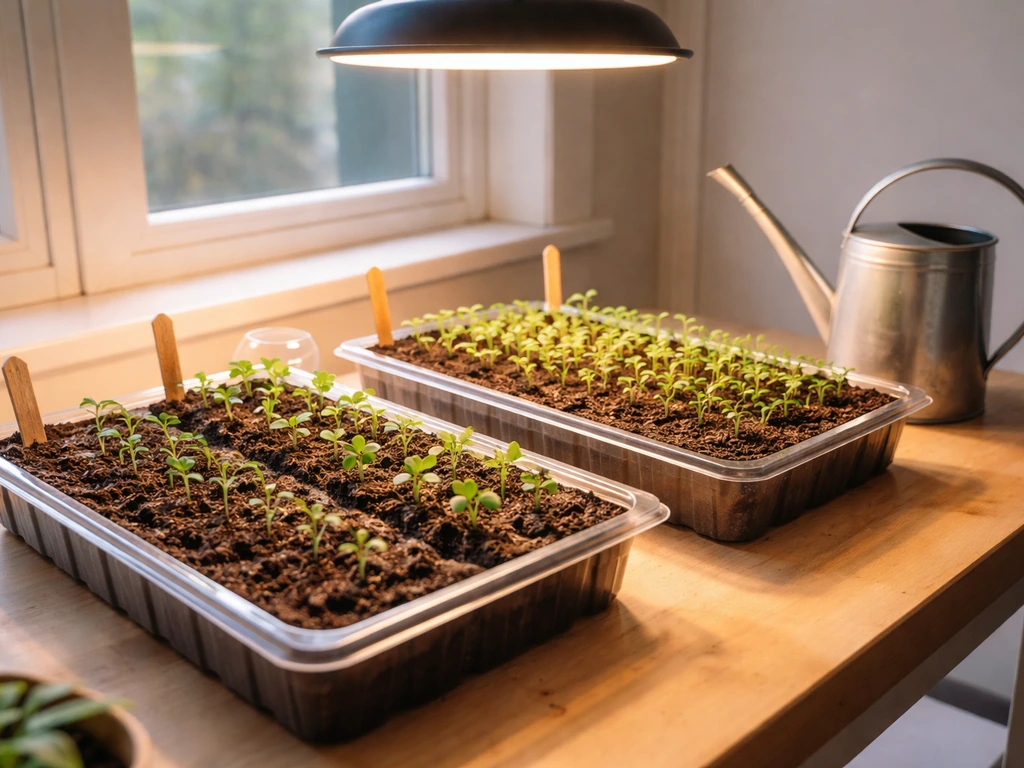
The method that consistently works best combines a fast-draining mix, surface sowing, a humidity cover with ventilation gaps, and a warm stable temperature. Here's how to do it:
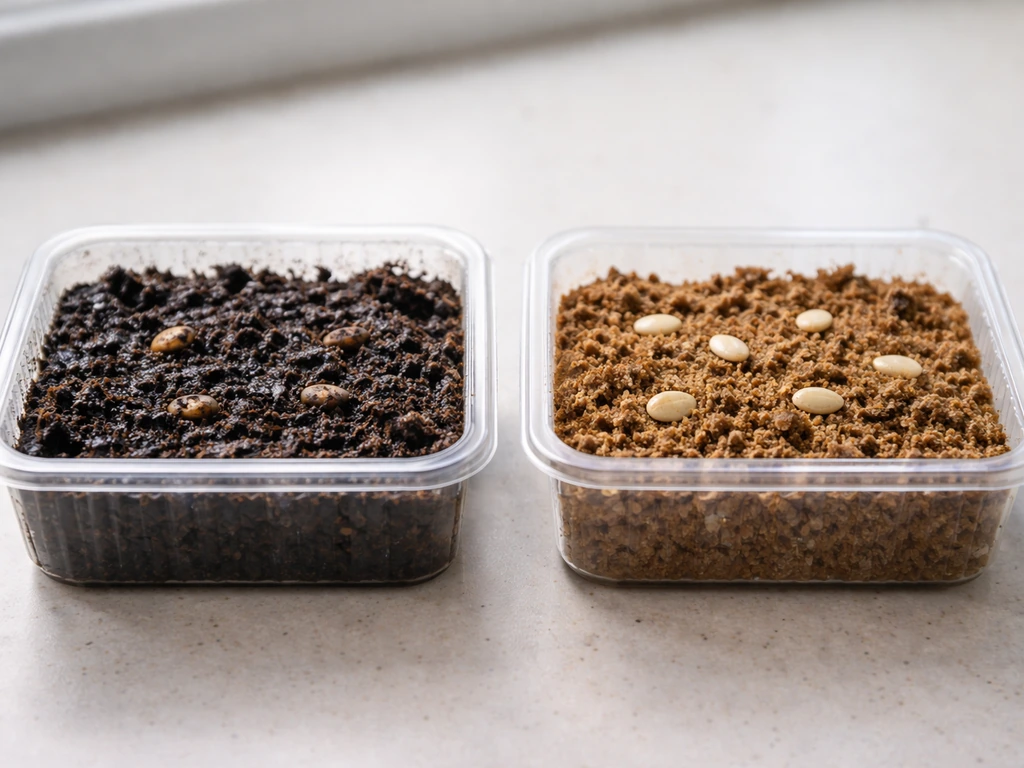
- Mix your medium: Use a succulent or cactus potting mix, or make your own with 3 parts compost, 3 parts pumice, and 1.5 parts coarse sand. The goal is a mix that drains fast but holds just enough moisture to keep seeds from drying out completely.
- Use clean, sterilized pots or seed trays: This is non-negotiable. Reused pots with old soil introduce fungal pathogens that cause damping-off. Fresh sterile mix every time.
- Moisten the mix before sowing: Spray it with water until it's just damp, not soggy. It should clump slightly when squeezed but release no drips.
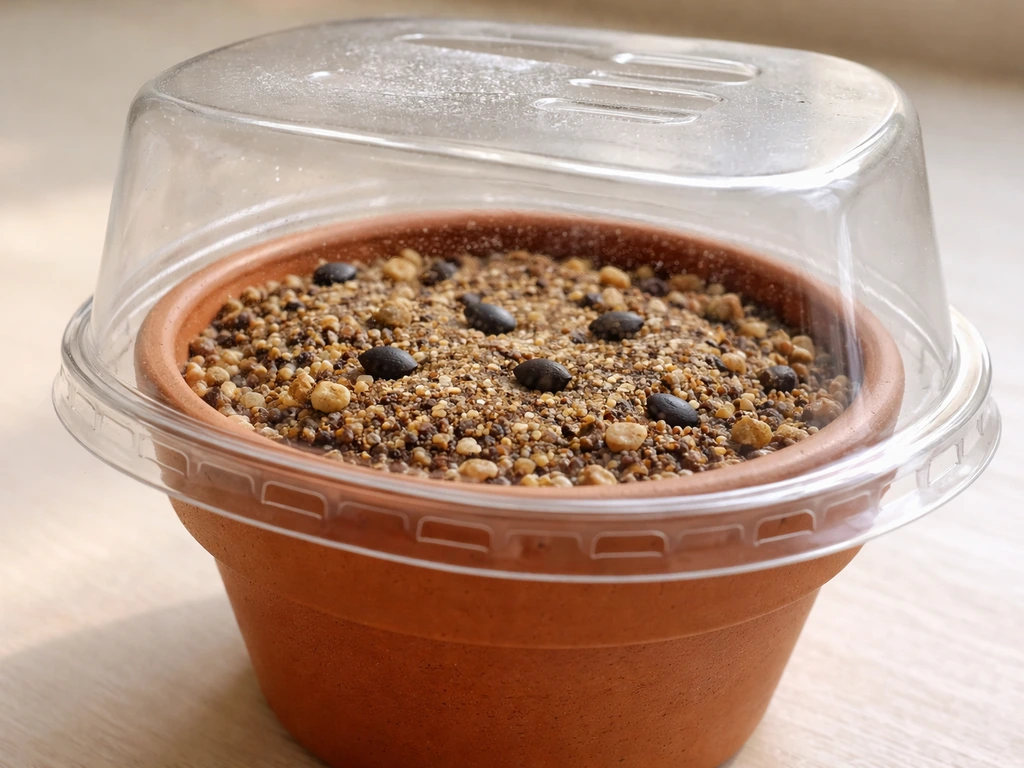
- Scatter seeds on the surface: Aloe seeds need light to germinate, so do not bury them. Press them gently into the surface of the mix so they make good contact without disappearing below it. If you want a light covering, a fine dusting of coarse sand or grit (around 1/8 inch at most) is fine.
- Cover with a clear plastic lid or wrap: This holds humidity around the seeds. Leave a small gap or lift the lid daily for 10–15 minutes to prevent mold buildup.
- Place in a warm spot at 22–24°C: A heated propagator is ideal. A warm windowsill can work, but temperatures often fluctuate too much without bottom heat.
- Mist the surface lightly every 2–3 days: Never pour water directly onto the seeds. Use a fine mister to keep the surface just damp.
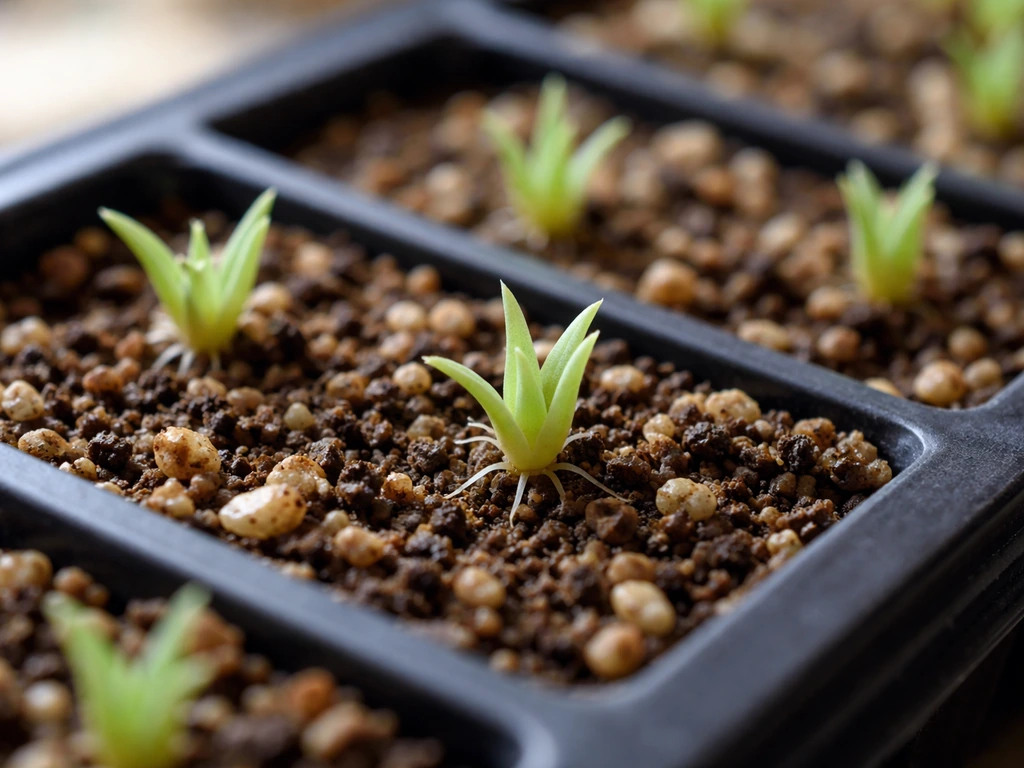
- Check daily from week two onward: Early germination often looks like a tiny pale green point barely breaking the surface. Easy to miss.
Light is worth stressing again here. Many people instinctively place seeds in a warm dark spot thinking it mimics soil, but aloe vera is different: it needs light at the germination stage. A bright spot out of direct harsh midday sun is ideal. A few hours of morning sun or a position near a bright window without scorching afternoon rays works well.
After germination: caring for seedlings and knowing when to pot up
Once you see sprouts, the main job shifts from encouraging germination to keeping seedlings alive and growing without rotting them. This is where a lot of people lose plants they worked weeks to germinate.
Keep the cover on but start airing it out more frequently. As seedlings establish over weeks 4 through 8, gradually increase ventilation time. After about 2 to 4 months, you can remove the lid entirely. Dropping humidity suddenly right after germination stresses the tiny seedlings, but leaving a sealed humid environment for too long encourages fungal problems.
Water very sparingly at this stage. Aloe seedlings rot easily because their roots are tiny and fragile. Allow the surface of the mix to dry slightly between mistings. Bottom watering, where you briefly set the tray in a shallow dish of water and let it soak up from below, works better than misting once seedlings are a few weeks old and have some roots to draw from.
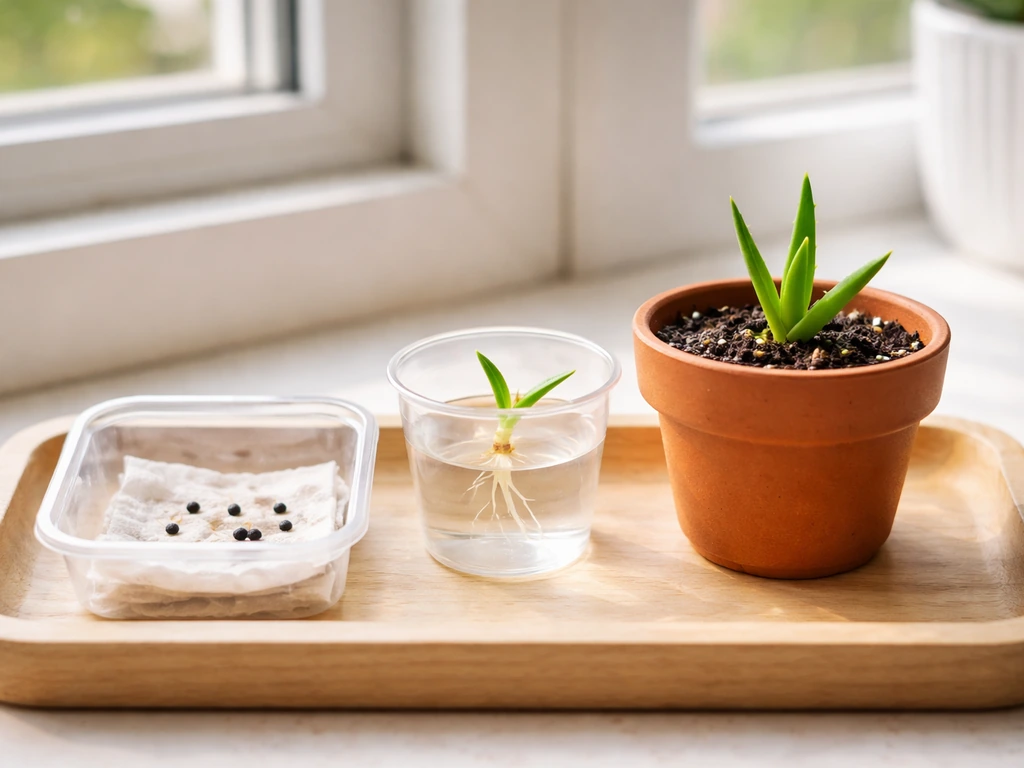
When it comes to potting up, wait until each seedling has 2 to 4 true leaves and roots are visibly developing. Most guides recommend potting up once you see four or more leaves, moving each seedling into its own small pot, around 2 inches (5 cm) in diameter, filled with the same gritty, well-draining mix. Rushing this step when seedlings are still tiny almost always results in transplant shock and setback.
Three to five months from sowing is a realistic minimum before potting up, depending on how fast the batch grew. Cycads have their own slower, more variable growth timeline, so it helps to know how long cycad seeds take to grow before you begin how long do cycad seeds take to grow.
When germination goes wrong: troubleshooting the most common failures
Nothing has sprouted after 4 weeks
First, check temperature. If your germination spot is below 20°C, that's almost certainly the cause. Move to a warmer spot or use a heated mat. If temperature is fine, consider seed age and freshness. Old or improperly stored seeds may simply have low viability. Give it another two weeks before giving up entirely, but start sourcing fresher seeds in case you need a second attempt.
Seeds have rotted before sprouting
This is almost always a waterlogging problem. UNH Extension also notes that seed germination depends on conditions that allow water and oxygen to reach the seed, and that when those needs are disrupted germination can fail waterlogging problem. Aloe seeds sitting in wet media without sufficient air movement attract water molds like Pythium, which digest the seed before it can germinate. The fix is simple: use a grittier mix, reduce moisture levels, and increase ventilation. Never let the tray sit in standing water.
Mold on the surface of the mix
White fuzzy mold on the surface is a sign of too much humidity with too little airflow. Lift the lid for longer periods each day, increase spacing between seeds if they're sown densely, and if mold is severe, lightly dust the surface with a small amount of cinnamon, which has mild antifungal properties and won't harm seeds.
Seedlings fell over (damping-off)
Damping-off happens when fungal pathogens attack the stem at soil level, causing seedlings to pinch and collapse. UMN Extension notes that overwatering and cool, wet conditions increase damping-off risk, along with low light, high salts, and cool soil temperatures [Damping-off happens when fungal pathogens attack the stem at soil level, causing seedlings to pinch and collapse. ](https://extension. umn.
edu/solve-problem/how-prevent-seedling-damping). It spreads fast through a tray. Remove affected seedlings immediately and improve drainage and airflow for the rest. Prevent it next time by using only sterilized pots and fresh, clean potting mix, never garden soil or previously used mix.
Sowing at the correct shallow depth also reduces risk, since seeds buried too deep take longer to emerge and spend more time exposed to pathogens in the soil.
Seedlings have sprouted but stopped growing
Stalled seedlings are usually a light or temperature problem. Move them to a brighter spot with a few hours of gentle direct sun, like a morning-sun windowsill. Make sure temperatures aren't dropping below 18°C at night. Seedlings in too-dark or too-cool conditions just sit there and do very little for weeks on end. They're not dead, just waiting for better conditions. If you want the sedum timeline, check how long do sedum seeds take to grow so you can plan for germination and early seedling care.
Practical planning: when to start and what to expect
For most home growers in temperate climates, the best time to start aloe vera seeds indoors is late winter to early spring, roughly 8 to 10 weeks before your last expected frost date. This gives seedlings time to establish under warm indoor conditions before you could theoretically move them outside in summer, if you want to.
That said, aloe vera is not frost-tolerant at all, so if you're growing it as a houseplant, the season matters less. You can start seeds any time of year indoors as long as you can maintain that 22–24°C germination temperature. For summer sowings, the timeline is similar, but warm temperatures can sometimes speed germination if you keep moisture and airflow balanced summer seeds take to grow. Winter starts on a cold windowsill without supplemental heat tend to underperform simply because ambient temperatures are harder to control.
Here's a simple planning framework to keep expectations realistic from day one:
- Weeks 1–4: Seeds sown and waiting for germination. Check daily from week two. Don't panic if nothing appears in week one or two.
- Weeks 4–8: First sprouts appearing. Adjust ventilation gradually. Water only by misting or bottom watering.
- Months 2–4: Seedlings developing first true leaves. Keep warm, keep bright, keep the mix barely moist.
- Months 3–5: Pot up individual seedlings once each has 4 or more true leaves.
- Months 6–12: Young plants establishing in their own pots. Start treating them more like adult aloe plants (less frequent watering, more direct light).
- Year 2 and beyond: Plants growing toward maturity. Full size and potential blooming is still 3–5 years away for most aloe vera plants.
If you're finding the wait frustrating, it helps to know that this slow pace is just how aloe works from seed. If you're also growing auto seeds, the timing can be different, so it helps to know how long auto seeds take to grow before you start. It's a completely different experience from fast-germinating annuals like cosmos, which can sprout in days.
Cosmos usually sprout quickly, but the full grow-from-seed timing depends on temperature and how long you grow before transplanting or flowering. Aloe rewards patience and a stable setup more than any special technique. Get the temperature and drainage right, use fresh seeds, and give it time. Most failed attempts come down to seeds that were too old, media that was too wet, or a spot that was too cold.
If you've hit the 8-week mark with absolutely no germination and temperature has been consistently warm, it's worth sourcing a fresh batch of seeds and starting again. Old seeds are the most common reason for a completely empty tray, and no amount of patience fixes low viability. If you are still waiting on sprouts, compare your timeline to how long do aquarium seeds take to grow and adjust conditions accordingly empty tray.
FAQ
Do aloe vera seeds need light to germinate, and what kind of light is best?
Yes, they require light at the germination stage. Use bright indirect light or gentle morning sun, avoid intense midday rays that can overheat the tray, and keep seeds on the surface or barely covered because deep burial can delay or prevent emergence.
What should I do if my tray shows no sprouts after 4 weeks?
First verify temperature stays in the 22 to 24°C range (and nights are not dropping below about 20°C). Then check seed freshness, and if conditions have been consistently warm, consider waiting up to 6 to 8 weeks before replacing seeds, because slower aloe species or low viability can create long gaps.
Can I speed up germination by soaking aloe seeds before planting?
Soaking is not guaranteed to help and can increase the chance of rot if seeds stay wet too long. If you choose to soak, keep it brief and ensure very warm, well-aerated conditions afterward, with a surface-sow method and a gritty, fast-draining medium.
How deep should I sow aloe vera seeds?
Sow very shallowly, essentially at the surface. If you cover them too deeply, seedlings often take longer to emerge because they spend more time in darker, wetter media, which raises the risk of rot or mold.
Is misting okay once the seeds sprout, or should I water differently?
Prefer bottom watering once seedlings are a few weeks old or after they have some roots. Misting can keep the top too wet and encourage damping-off, instead allow the surface to dry slightly between light waterings to keep conditions drier at the stem base.
How long should I keep the humidity cover on after germination?
Keep the cover on initially, then gradually increase fresh-air gaps as seedlings age (roughly weeks 4 to 8). Avoid removing it abruptly right after sprouting, because sudden humidity loss can stress tiny seedlings, while leaving it fully sealed too long can promote fungal issues.
My seedlings look pale or slow, is that normal or a problem?
Pale and slow growth usually points to insufficient light or nighttime temperatures that are too cool. Move the tray to a brighter spot with gentle morning sun and confirm nighttime temperatures remain above about 18 to 20°C.
What’s the difference between fuzzy surface mold and damping-off, and how should I respond?
Fuzzy white mold on the surface typically indicates too much humidity with limited airflow, correct by increasing ventilation and spacing seeds. Damping-off is stem-level collapse, remove affected seedlings immediately and improve drainage and airflow, also use fresh sterile mix and clean containers for prevention.
When is the right time to pot up aloe seedlings, and what size pot should I use?
Pot up when each seedling has about 2 to 4 true leaves and roots are visibly developing. A common approach is using small pots around 5 cm (2 inches) wide with the same gritty, fast-draining mix, and avoid rushing earlier to prevent transplant shock.
Can I germinate aloe seeds in winter on a windowsill without a heat source?
It often underperforms because winter windowsills can fall below the germination sweet spot. If you do it without supplemental heat, monitor the tray temperature closely, and consider a heated propagator or mat to hold a stable 22 to 24°C.
Next Article
How Long to Grow Seeds Indoors Timeline to Harvest
Indoor seed-start timelines from germination to transplant-ready seedlings and harvest, plus troubleshooting and plannin